First of all, not only is cheesemaking much much easier than I thought, but the set-up is relatively inexpensive. So today I'll walk you through the equipment I have and then later in the week, I'll walk you through the most recent cheese I made, a Drunken Cow cheese. (this cheese takes a lovely long bath in red wine for 48 hours and takes on the most gorgeous color)
We first purchased a kit at our local homebrew store, which was relatively inexpensive. Amazon has the same kit for about $28.

This kit comes with almost everything you need to make several batches of cheese, including a mold, all of the cultures, a thermometer, and a recipe book. The book included is actually quite helpful, but I've found the full book written by the same person to be the most thorough and helpful to understand the process of making our own cheese.

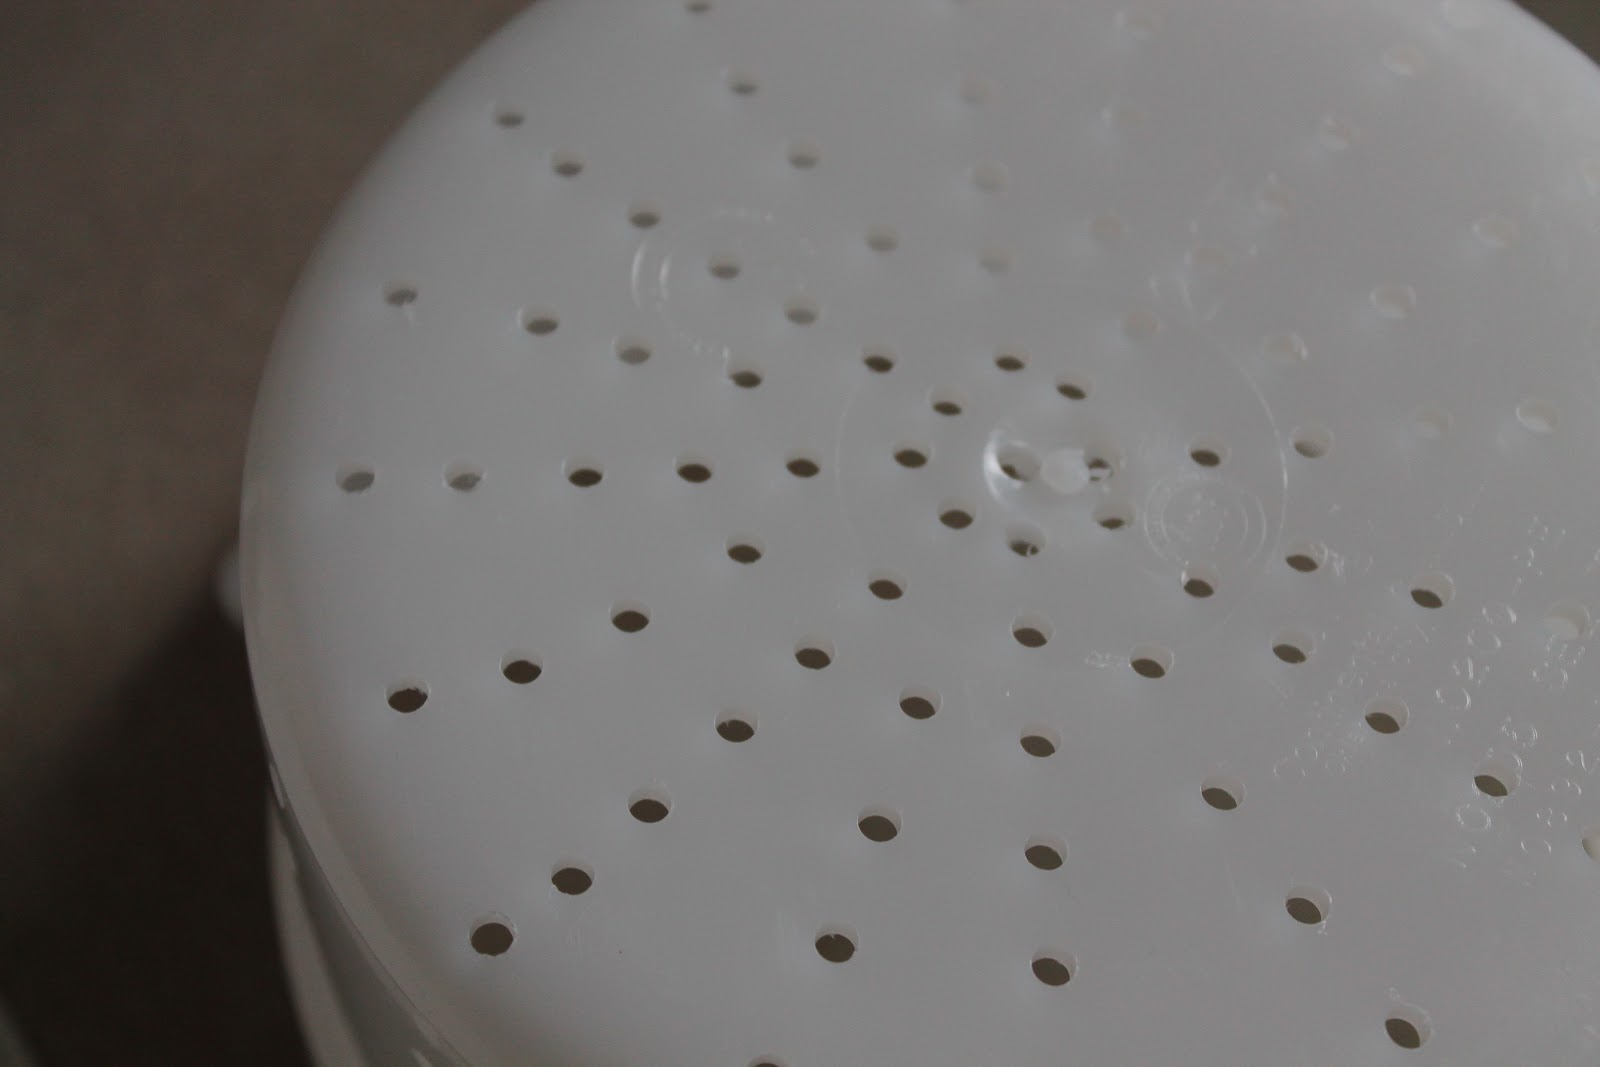
Although there is a pretty flimsy mold included, we actually made our own. I purchased 2 sturdy plastic containers at the local restaurant supply store.

I drilled holes in the bottom one to allow the whey to be released during pressing. They work quite well, actually. You can use any size container, just as long as the top container fits snugly inside the bottom one.
We also made our own cheap rendition of a cheese press. I know, it looks pretty rickety, but it actually gets the job done very well. For the press, we simply took 2 pieces of flat board, drilled 4 holes in the corners of each board, big enough to fit a 1"dowel rod. We then cut a dowel rod into 4 pieces and glued them into the holes of the bottom piece of wood. The top piece slides up and down on the rods, depending on the mold underneath.

Cheese gets pressed under so many pounds of pressure for specific periods of time, so it's important to make sure you have an easy way to monitor that. We use some old weights from a weight lifting set and they work quite well. You just have to make sure they are stacked squarely and evenly on the board.
The final piece of equipment that we added was an old dorm refrigerator to use as our cheese cave. See, as cheese ages, it needs to be kept at a temperature between 45-55 and at a relatively stable humidity. If you have a basement that stays at this temperature, you can do without the cave and simply use plastic food storage boxes with a wet towel/sponge inside and it will make a perfect little cave. But if your basement is like ours and the temperature fluctuates with the seasons, you might want to invest in a fridge like we did. We found one on Craigslist for about $50, but we've seen them as cheap as $20. Actually, this is a great time to start looking, as I'm sure there are plenty of college kids who are moving out of dorms and wanting to get rid of theirs.

Thankfully, if you turn this fridge setting to the warmest one (10 on the scale of 1-10) it keeps a perfect 50 degrees, which we verified with a thermometer. If your fridge isn't quite so perfect, you can purchase an external thermostat, which will regulate the temperature for the refrigerator.
Oh, and the cheeses in our fridge on the bottom rack is the first one we did (and probably the easiest) and is a Farmhouse Cheddar. We waxed it and it's currently getting all good and aged. Oh, and waxing is super easy. We just bought a block of cheese wax, melted it in a double boiler, and brushed on coats with a natural bristle paint brush. The top left is an Asiago with peppercorns, and then the top right is the Drunken Cow.
So that's it! Check back later this week and I'll show you the process of cheesemaking.
3 comments:
They look great! Can't wait for the next post!
You should check out the book "Artisan Vegan Cheese" if you want to try your hand at vegan cheese making. The author is super helpful and active in answering questions on her site/ppk with helping figure out what went wrong if something went wrong.
Thank you, Anonymous! I actually have that book, as well as the Gentle Chef book, which also has great vegan cheese recipes. I've made a few, but none have come out quite the way I expected. As soon as they do, I'll be sure to post!
Post a Comment