Tuesday, April 30, 2013

Drunken Cow Cheese

So last week, I showed you all of our cheesemaking equipment. I was seriously surprised at how easy cheesemaking was. I thought it'd be much harder, but using the book "Home Cheese Making" has seriously been such a huge help. It's very easy to understand and it walks you through step-by-step. You can also learn a lot from the Internet. (Seriously, what did I do before the Google machine? Or my new favorite "google," which is Pinterest. Here's my Cheese Making board if you're interested.)

I'd also purchase the cheesemaking kit to get started - it'll give you all of the ingredients and supplies that you'll need. You can also purchase them separately on Amazon or New England Cheesemaking, which is pretty much the authority on cheese making. Oh, and if I can say one important thing - cheesemaking does take a block of time. Most of it is non-active time, but you do have to make sure you are paying attention and setting a timer. It takes me about 3 1/2 to 4 hours from start to finish, and then there is the pressing time. Make sure you plan accordingly, as there is nothing worse than having to set an alarm for 2:30 in the morning so that you can take the cheese out of the press. Not that I know what that's about.

Today, I'm going to show you a quick little step-by-step of how I made my most recent cheese - a Drunken Cow Cheese. I've had a Drunken Goat cheese before, and I'm very  much looking forward to this one. It's a washed curd cheese, which means literally that - the cheese curds are washed with fresh water, as opposed to just staying in their own natural whey. This will lower the overall acidity of the cheese. (Don't worry - I know I'm throwing around a lot of terms, but it'll all make sense if you read through the book.) This is not necessarily a tough recipe, but it might be easier to start with a recipe where you don't have to wash the curds. I'll be honest though - I've done both now and I find them both about the same in difficulty. You just have to make sure you're following the directions.

Did you know you can make cheese with milk from the grocery store? You can use any form of cow's milk, as long as it isn't Ultra-pasteurized. Or you can use raw milk, provided you let it age at least 60 days.

One of the most important parts of cheesemaking is maintaining a certain temperature for a certain period of time. This is probably one of the most important parts, as certain cultures react differently at certain temperatures. This is the thermometer that was included in my cheesemaking kit, and it actually works pretty well. (although I've since upgraded to a digital one.)


Another important thing is the pot. I have a heavy Calphalon stock pot that holds the same temperature for at least 60 minutes, so it's worked perfectly for me.


So once you get the temperature to where it needs to be, you let it sit for awhile, until it has a "clean break." To me, that just means it's gets sort of jello-like and you can cut it with a knife and it holds it's shape nicely. When that happens, you can then move onto the next step, which is probably one of my favorites. Cutting the curd is when you take a sharp knife and actually cut the gelled cheese mixture into squares. The book explains it extremely well and I found it so easy to do. Look at how pretty the little squares are!


Then you slowly heat the curds, which allows them to release some of the whey, which is the clear liquid on top that you see here.


For a washed curd cheese, you scoop out this whey and replace it with clean hot water a few times, hence "washing the curds!"

It'll then go into the press and will come out looking nice and compact.


After a few hours of some air drying, it'll take a lovely little wine bath for a total of 48 hours. Ours took on the most delicious dark red color, although it still looks very light here.


And then it goes into the cellar for about 3 months. If you don't have a cheese cave like ours, here's a great post for other options. The Drunken Cow cheese is on the top right. And don't worry - that's not mold - it's salt residue from the brine.


And there you go! I can't wait to crack into this cheese! I'll have to update the post once we do! And if you've tried your hand at cheesemaking, I'd love to hear how it turned out!

Drunken Cow Cheese
 
2 gallons whole milk
1/8 tsp Mesophilic direct set culture
1/8 tsp Calcium Chloride, diluted in 1/4 cup unchlorinated water
1 tsp liquid rennet, diluted in 1/4 cup unchlorinated water
1 tablespoon cheese salt (or good quality sea salt)
6 cups water, heated to 175 degrees F
1 bottle dark red wine (i used a Merlot)
 
Pour milk into large pot. Add the diluted Calcium Chloride and stir well. Heat the milk to 90 degrees F and stir in the mesophilic culture. Cover and allow to sit for 10 minutes. Add the diluted rennet and stir for one minute. Cover and let set for 60 minutes, maintaining the temperature. If your pot does not hold heat as well as mine, you can immerse the pot in a sink of 90 degree water. You will probably have to periodically add hot water to the sink to maintain the temperature.
 
Insert a knife and see if you have a clean break. If so, you can cut the curds into 1/2" cubes. Stir gently for about a minute and then cover and let them rest.
With a sterilized measuring cup, take out about 1/3 of the whey. (this was about 2.5 cups total for me). Gradually add the heated water and stire to bring the temperature of the curds up to 92 degrees. (Again, this was about 2.5 cups for me). Stir continuously so that curds don't clump together. Once they reach 92 degrees, let them rest for another 10 minutes, stirring occasionally. Drain off whey to the top of the curds using the measuring cup again. Continue to add heated water until the curd temperature is 100 degrees. Rest for 15 minutes, keeping at the target temperature and stirring occasionally to prevent clumping. Let the curds sit for 30 minutes at 100 degrees.
 
Pour curds into a cheesecloth-lined colander. Pour the curds back into the pot and break into 1/4" pieces with your fingers. Blend in the salt.
 
Pack the curds into a cheesecloth lined mold. Cover the curds with the cloth and press at 20lbs for 20 minutes. Remove the cheese from the press, unwrap and flip over. Rewrap cheese and place back into mold. Press again at 20lbs for 20 minutes. Remove, flip, rewrap, and place cheese back into press and press again for 20lbs for 12 hours.
Remove cheese from the mold and cheesecloth. Skewer 10 holes in each side of the cheese, going about halfway down each time. Bathe the cheese in wine for 24 hours, making sure the cheese is completely covered in wine and flipping halfway through. Remove, lay on a sushi mat for 6 hours, until dry to the touch. Repeat the wine bath again for 24 hours. Remove and allow to air dry until dry to the touch. (This took about 8 hours for me)
 
Store the cheese in your cheese cave (or wherever you age your cheese) at around 50 degrees F at about 85% humidity for three months. (For our cave, we just have a container of water in the bottom of the fridge and it keeps it nice and moist. Or check out this post for other DIY cheese cave ideas)
Turn cheese daily for about 2 weeks. Wipe down with a brine solution (a nice heavy salt water) if mold starts to form on the surface. (which is perfectly  normal and okay - I had to keep telling myself this)


Friday, April 26, 2013

Mushroom Gyros

At some point, when the weather gets warmer, we start treating our grill as if it's the only cooking tool we have. Seriously, everything gets grilled. I think we grilled 80% of everything we got from our CSA last year. And that was only because we preserved the rest. We've already started with grill-a-mania this year, so don't be surprised if you see a ton of recipes that are grill friendly popping up regularly. And don't fret if you are grill-less - you can always broil or saute things instead.

One of the things that makes my life easier is a grill tray. Actually, I have several, depending on what I'm grilling, but I have a flat one that covers most of the grill and is my most used one. (looks kinda like this, but a bit heavier) I love to grill almost any kind of vegetable on it, from mushrooms to brussel sprouts to asparagus.

 
When I was trying to think of what I wanted to make for dinner last night, I knew I wanted to use up some mushrooms that had been lingering in the fridge. One of the things I love to get at a local sandwich shop is a mushroom gyro. Although they usually look at me funny when I order a "gyro, no meat, but with mushrooms instead," it's really quite delicious. We decided to try making them at home, and I don't know if I can ever eat one at a restaurant again. They were absolutely delicious!


The mushrooms take on a lovely grilled and meaty texture, making them hearty and just perfect as the start of this wrap. We decided to make it even healthier and do a lettuce wrap, which turned out to be wonderfully crisp and light. Topped off with fresh tomatoes, red onion, and of course, tzatziki sauce, this might just be one of my favorite recipes yet of 2013.

You really should give these a try! You'll thank me!


Mushroom Gyros
Serves 2

4 cups quartered baby bella mushrooms
1/8 c olive oil
1/2 tbsp oregano
2 cloves garlic, minced
1/2 tsp salt

Tzatziki Sauce8 oz plain yogurt
1/3 c diced cucumber
1 clove garlic, minced
1/4 tsp crushed red pepper
1/4 tsp salt
pinch sugar
1/4 c fresh dill, minced

Romaine lettuce leaves
fresh diced tomatoes
Slivered red onions
Fresh Italian parsley, chopped
Wash and quarter mushrooms. Add olive oil, oregano, garlic, and salt and stir well to combine. In a small bowl, combine all ingredients for the tzatziki sauce. Allow to chill for a bit for flavors to come together. Preheat grill and grill pan to medium high heat. Grill mushrooms for 5-7 minutes, until tender. Remove from heat. Assemble wraps on lettuce with mushrooms, tomatoes, onions, and top with parsley.

Thursday, April 25, 2013

Indian Quinoa Salad

As some of you know, both my husband and I are vegetarians. And thankfully, neither of us are picky eaters, so it's not uncommon to see a meal of just grilled vegetables with a simple side. (Yes, I realize how blessed I am to have a husband who will happily sit down to a plate of grilled mushrooms and asparagus with a side of quinoa). We do like to get our protein in, which is why quinoa makes a frequent appearance at meals in our house. And if you have a rice cooker, it couldn't be easier to make.

This dish has a nice layered depth of flavor, given some key ingredients. I added coconut milk to the boiling water for the quinoa, which makes it super creamy and flavorful. There's some curry powder and garam masala, to keep things interesting. And then we splashed some lime juice and sesame seed oil in there - you know - just for fun. Cilantro is probably one of my favorite herbs, and seriously, it does wonders in this dish. The final ingredient, and please - hear me out on this one - golden raisins. Listen, even if you don't like raisins, you should try this. One of the Indian restaurants I love puts them in their curries and I died the first time I discovered them. It provides this wonderful texture and just a hint of sweetness that pairs wonderfully with the curry and acidity of this salad.

One of the things I like about this salad is that it works perfectly as a side dish as is, or you can beef it up and make it a main dish. You can easily add sauteed vegetables, some smoked tofu,  or even shredded chicken if you are so inclined. Regardless of how you make it, I'm sure you'll find this salad quite delightful.


Indian Quinoa Salad
Serves 4-6

1 cup quinoa, rinsed well (I used a mix of both red and quite)
1 cup light coconut milk
1 cup water

1/8 cup olive oil
2 tsp sesame oil
1 tbsp fresh lime juice
1 tsp cumin seed
1 tsp garam masala
1/2 tsp curry powder
1/2 tsp salt
1/2 tsp garlic powder
1 cup fresh cilantro, roughly chopped
1/4 cup golden raisins

Cook quinoa according to directions in coconut milk and water. In a small bowl, whisk together the olive oil, sesame oil, and lime juice. Pour over the quinoa and add remaining ingredients. Stir well and serve either warm or chilled.

Tuesday, April 23, 2013

Cheesemaking - the Equipment

So in our quest to be as self-sufficient as possible, as well as responsible for as much of our food sources as possible, we decided to try our hand at making our own cheese. I'm a huge fan of cheese (and sadly, cite it as probably the only reason why I am not a 100% vegan, although we mainly eat a vegan diet). Thankfully, I'm also blessed with a husband who will pretty much go along with whatever crunchy idea that pops into my head, so when I said "let's make cheese!" he said, "how much milk do we need?"

First of all, not only is cheesemaking much much easier than I thought, but the set-up is relatively inexpensive. So today I'll walk you through the equipment I have and then later in the week, I'll walk you through the most recent cheese I made, a Drunken Cow cheese. (this cheese takes a lovely long bath in red wine for 48 hours and takes on the most gorgeous color)

We first purchased a kit at our local homebrew store, which was relatively inexpensive. Amazon has the same kit for about $28.

 
This kit comes with almost everything you need to make several batches of cheese, including a mold, all of the cultures, a thermometer, and a recipe book. The book included is actually quite helpful, but I've found the full book written by the same person to be the most thorough and helpful to understand the process of making our own cheese.
 
 
Although there is a pretty flimsy mold included, we actually made our own. I purchased 2 sturdy plastic containers at the local restaurant supply store.
 
 
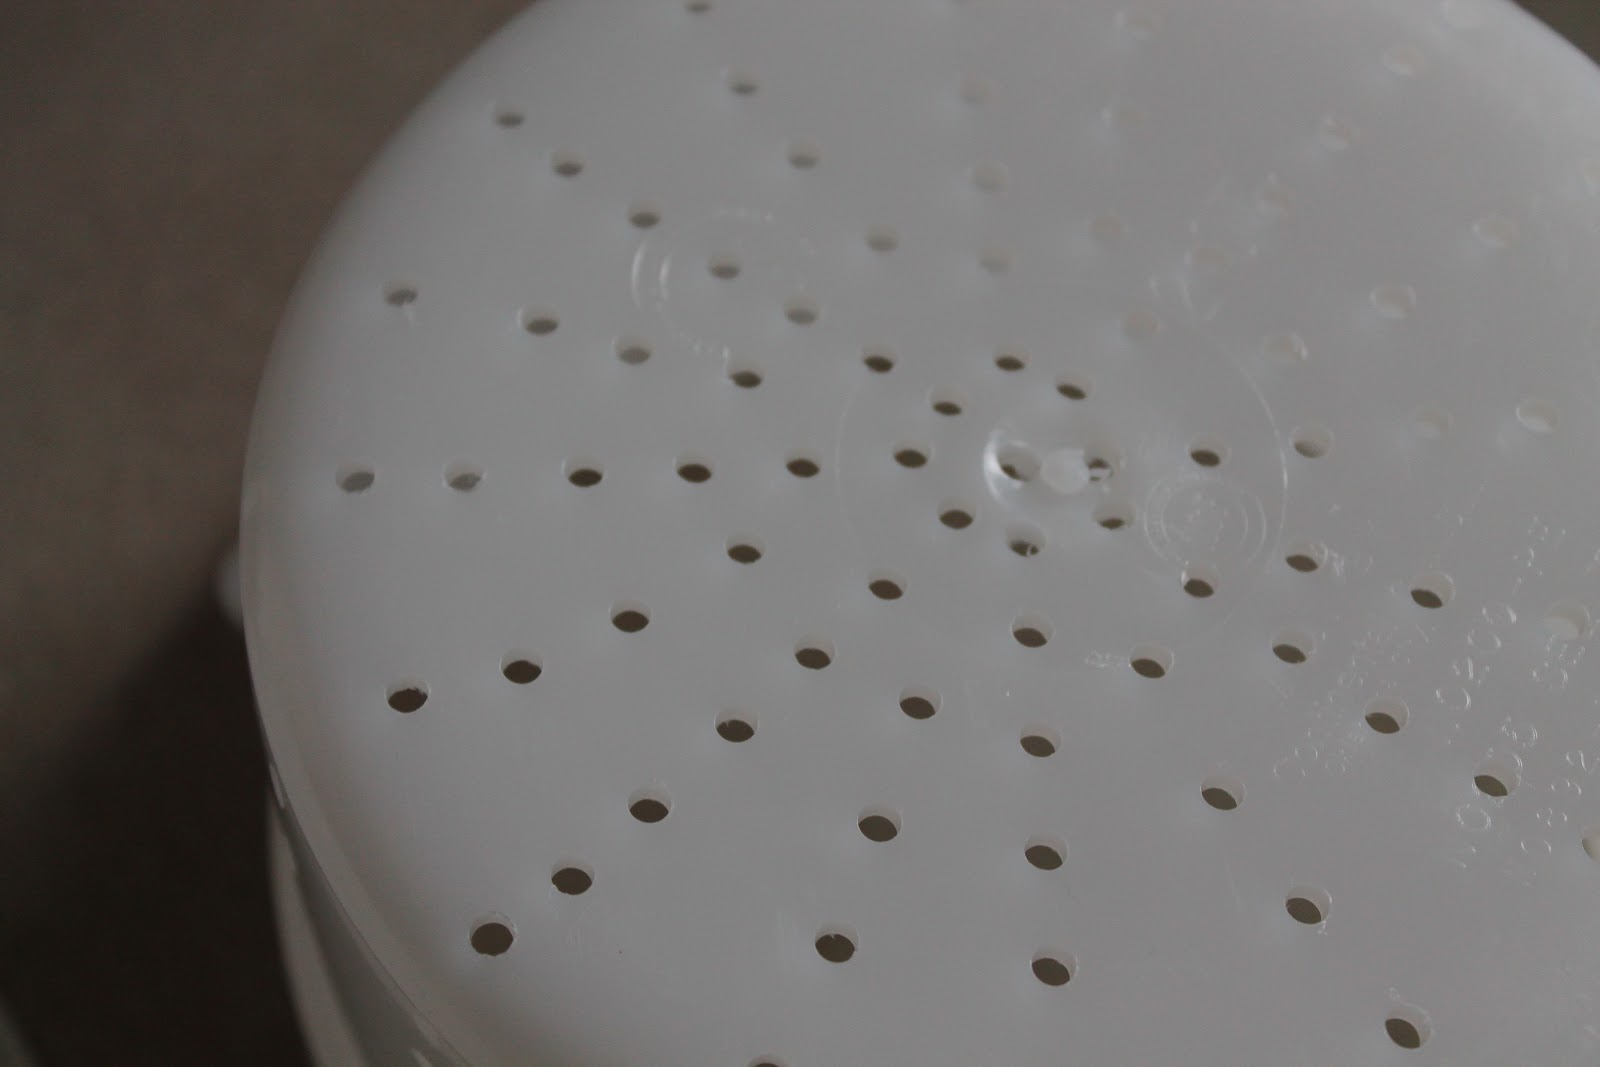
I drilled holes in the bottom one to allow the whey to be released during pressing. They work quite well, actually. You can use any size container, just as long as the top container fits snugly inside the bottom one.
 
 
We also made our own cheap rendition of a cheese press. I know, it looks pretty rickety, but it actually gets the job done very well. For the press, we simply took 2 pieces of flat board, drilled 4 holes in the corners of each board, big enough to fit a 1"dowel rod. We then cut a dowel rod into 4 pieces and glued them into the holes of the bottom piece of wood. The top piece slides up and down on the rods, depending on the mold underneath.
 
 
Cheese gets pressed under so many pounds of pressure for specific periods of time, so it's important to make sure you have an easy way to monitor that. We use some old weights from a weight lifting set and they work quite well. You just have to make sure they are stacked squarely and evenly on the board.
 
The final piece of equipment that we added was an old dorm refrigerator to use as our cheese cave. See, as cheese ages, it needs to be kept at a temperature between 45-55 and at a relatively stable humidity. If you have a basement that stays at this temperature, you can do without the cave and simply use plastic food storage boxes with a wet towel/sponge inside and it will make a perfect little cave. But if your basement is like ours and the temperature fluctuates with the seasons, you might want to invest in a fridge like we did. We found one on Craigslist for about $50, but we've seen them as cheap as $20. Actually, this is a great time to start looking, as I'm sure there are plenty of college kids who are moving out of dorms and wanting to get rid of theirs.
 
 
Thankfully, if you turn this fridge setting to the warmest one (10 on the scale of 1-10) it keeps a perfect 50 degrees, which we verified with a thermometer. If your fridge isn't quite so perfect, you can purchase an external thermostat, which will regulate the temperature for the refrigerator.
 
Oh, and the cheeses in our fridge on the bottom rack is the first one we did (and probably the easiest) and is a Farmhouse Cheddar. We waxed it and it's currently getting all good and aged. Oh, and waxing is super easy. We just bought a block of cheese wax, melted it in a double boiler, and brushed on coats with a natural bristle paint brush. The top left is an Asiago with peppercorns, and then the top right is the Drunken Cow.
 
So that's it! Check back later this week and I'll show you the process of cheesemaking.


Friday, April 19, 2013

Grilled Enchilada Pizza and a Garden Update

So ever since we discovered how easy it was to make grilled pizza, we've been obsessed with thinking of different varieties. And since it's Pantry Week around these parts, we really needed to become creative. What's Pantry Week, you say? Well, you know how you always seem to have random things stocked in your pantry that you never seem to use? Dried beans and sauces and grains and all other sorts of things that just get pushed back when you buy new groceries. Or, if you're like me, you buy the same item every time at the store and then realize you already have 3 of them in your pantry. (For me, these items are red curry paste and tomato sauce). So during Pantry week, we can only eat "from the Pantry." Ideally, we don't purchase any groceries during that week, unless we are completely out of fresh vegetables.

 So after making a survey of the pantry this week, I realized we had almost all the ingredients for enchiladas in the house, sans tortillas. We made vegetarian chilaquiles one night, which were incredible and dead easy. (Seriously, simply layer tortilla chips with generous amounts of enchilada sauce and whatever beans and veggies you have on hand. Top with cheese, bake in the oven for 15 minutes and viola!) I realized that we still had enough ingredients left over to do something with, and the idea of an Enchilada Pizza was born.

It couldn't be easier. Simply make the pizza dough I introduced last week, to which I added cumin and crushed red pepper. Then coat with enchilada sauce and top with whatever floats your boat. We used black beans, chopped jalapenos, chopped onion, halved cherry tomatoes, and corn. After it was all good and cooked, we topped with a generous amount of roughly chopped cilantro. Man, was it tasty! Oh, and took me about 30 minutes to throw together. That's almost too easy!


 Now let's talk garden, shall we? I love this time in the garden. Not only are the seeds and seedlings
we planted doing extremely well, but they seem to grow almost overnight. Every morning while I let the dog out, I take a walk and survey the new growth. It's amazing.

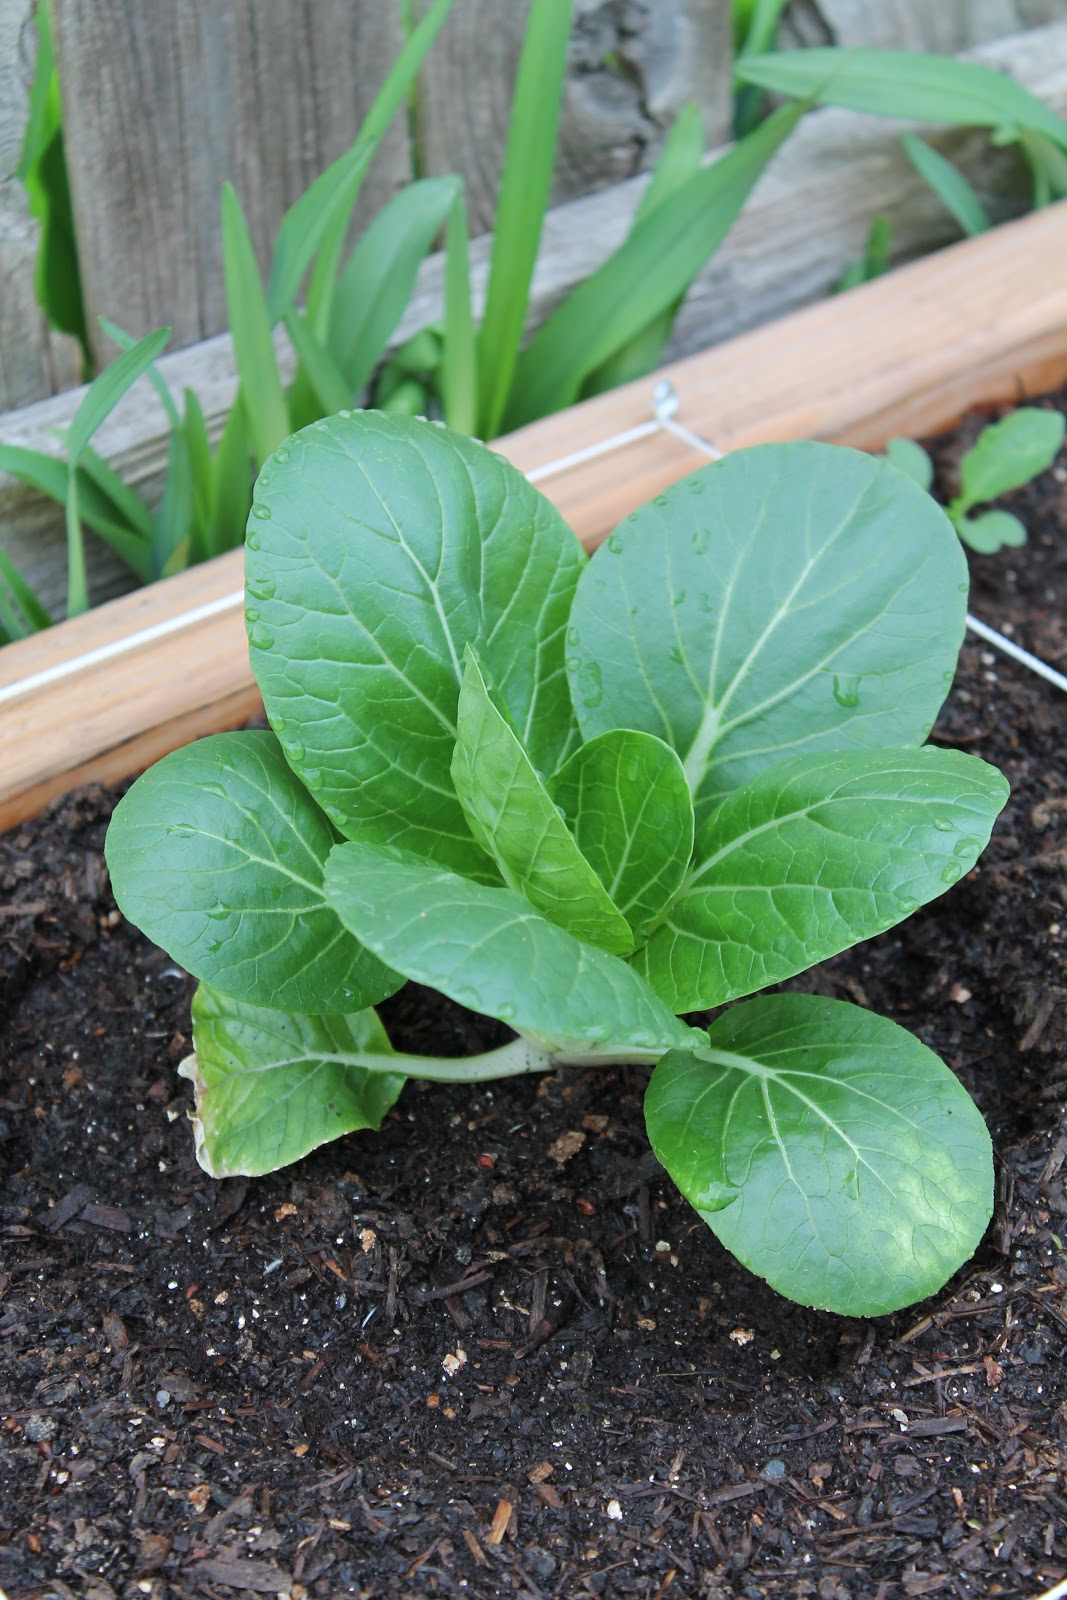
Our peas are growing extremely well, but my favorite plants to look at are definitely the cabbages. We have several different varieties growing, including napa and pak choi.I just love the way the plants are growing - I can almost imagine what the full-sized plants will look like.


Well that's all for today, folks! Happy Friday, y'all!

Wednesday, April 17, 2013

Veggie Burgers with some bite to them!

I've been a vegaquarian for about 10 years now, and it's been one of the best decisions I've ever made in my life. But every year at grilling season, I do have a tiny twinge of sadness, as I see and smell ribs, steaks, and burgers on neighbor's grills. It's not that I want to eat meat, but there just aren't that many vegetarian things that are quite as easy as throwing a burger on the grill.

I've tried several different vegetarian burger recipes in the past, but they never seem to satisfy. They usually end up either falling apart on the grill, or being completely mushy and without texture on the inside. Although the flavor is really good, they really lack the texture that I'm looking for.

Until these burgers. I've had TVP in my pantry for awhile and although I've used it in some other recipes, I really don't use it as much as I could. For those of you who don't know, TVP is a soy-based textured vegetable protein. Although I try to stay away from soy as much as possible, I do make the occasional exception for some TVP.

This has honestly been one of the best grilled vegetarian burgers I've ever had. Not only is it flavorful, but it has a nice little texture to it. Now don't get crazy and think I'm saying that these are exactly like a real burger, but they are definitely closer to the texture than any other homemade burger I've ever tried. And the key to keeping them together is to freeze them for a bit before they actually hit the grill, which will allow them to hold together. I had no issues with them falling apart, unlike the other recipes I've tried. (as a sidenote - you can either grill these or bake them)

I've kept this recipe fairly simply spiced, but you can easily get creative with it, and make it spicy or Indian spiced or whatever flavor your little heart desires. Go ahead and give it a try - you just might make a vegetarian's day!


Veggie Burgers with some bite!

Makes 4 large burgers or 6 small burgers
 
1 cup TVP (textured vegetable protein)
3/4 cup boiling water
1/4 cup A-1 sauce
1/4 cup finely diced onion
1/2 tsp ground oregano
1/4 tsp garlic powder
1/2 cup vital wheat gluten
1 tbsp olive oil
 
In a medium sized bowl, combine the TVP with the boiling water and the A-1. Allow to stand for 10 minutes and then add in remaining ingredients. Stir well to combine. Scoop out a handful and shape into a patty, making sure to press firmly. Repeat until all burgers are formed.
Place on a foil-covered sheet and place in freezer for a minimum of 30 minutes. If grilling, preheat grill to medium heat. Rub a thin coat of olive oil on each side of the burger. Place on heated grates. Cook for 4-5 minutes on one side, then flip over to the other side and cook for an additional 4-5 minutes.
If baking, preheat oven to 350 degrees. Place on greased baking sheet and bake for 30 minutes, flipping halfway through.

Monday, April 15, 2013

Herbed Quinoa Salad

Quinoa is probably one of my favorite grains of all times. Not only is it very easy to make and extremely versatile, but it also packs a great nutritional punch. Quinoa is a complete protein, which means it contains all of the essential amino acids. It's also a wonderful source of protein, yielding about 8 grams of protein for just 1 cup of cooked quinoa. Quinoa is also a great source of fiber, magnesium, manganese, zinc and potassium and is low in gluten, which means those with celiac disease can eat it. One of these years, I'm going to try and grow it in my garden.

I love a good cold grain salad, especially one based on quinoa, because not only are they quick and easy to make, but they also hold well and make wonderful leftovers. They are also the perfect accompaniment to a warm summer evening's meal.

I threw this salad together one night to go along with some grilled burgers we were having (stay tuned later this week for that recipe - might just be my favorite non-mushy vegetarian burger ever!) and it was quite delicious and full of flavor. I used my rice cooker to make the quinoa, which is almost too easy. After it's cooked, you simply toss it with the remaining ingredients and can serve it either warm or chilled. Either way, it's bound to be a great addition to your meal.


Herbed Quinoa Salad

1 cup red quinoa, rinsed
1 tsp cumin seed
1 tsp coriander seed
8 oz baby bella mushrooms, sliced
2 tbsp olive oil
1/2 tsp salt
1/4 c fresh lemon juice
1 tbsp good olive oil
3/4 tsp garam masala
1/2 tsp worcestershire sauce
1/4 c chopped fresh dill
1/4 c chopped fresh Italian parsley
1/4 c chopped fresh cilantro

Add cumin seed and coriander seed to water and cook quinoa according to directions. (For me, that's 1 cup quinoa and 2 cups water in my rice cooker) Meanwhile, saute mushrooms in 2 tbsp olive oil until cooked. (about 5-7 minutes) Add to bowl with cooked quinoa. Add salt, lemon juice, additional olive oil, garam masala and worcestershire sauce and combine well. Add fresh herbs and toss until combined. Serve warm or chilled.