I've talked to quite a few people who are scared of bread baking. The multiple steps and rising and all of that mumbo jumbo leaves them afraid to try. And although I must admit baking fresh bread does take some extra time and care, most of it is inactive. And seriously, the result? Amazing.
This has become our new standard weekly bread recipe to make. It produces such a wonderful hearty loaf, chock full of whole grains. And seriously, it's easy. Very very easy.

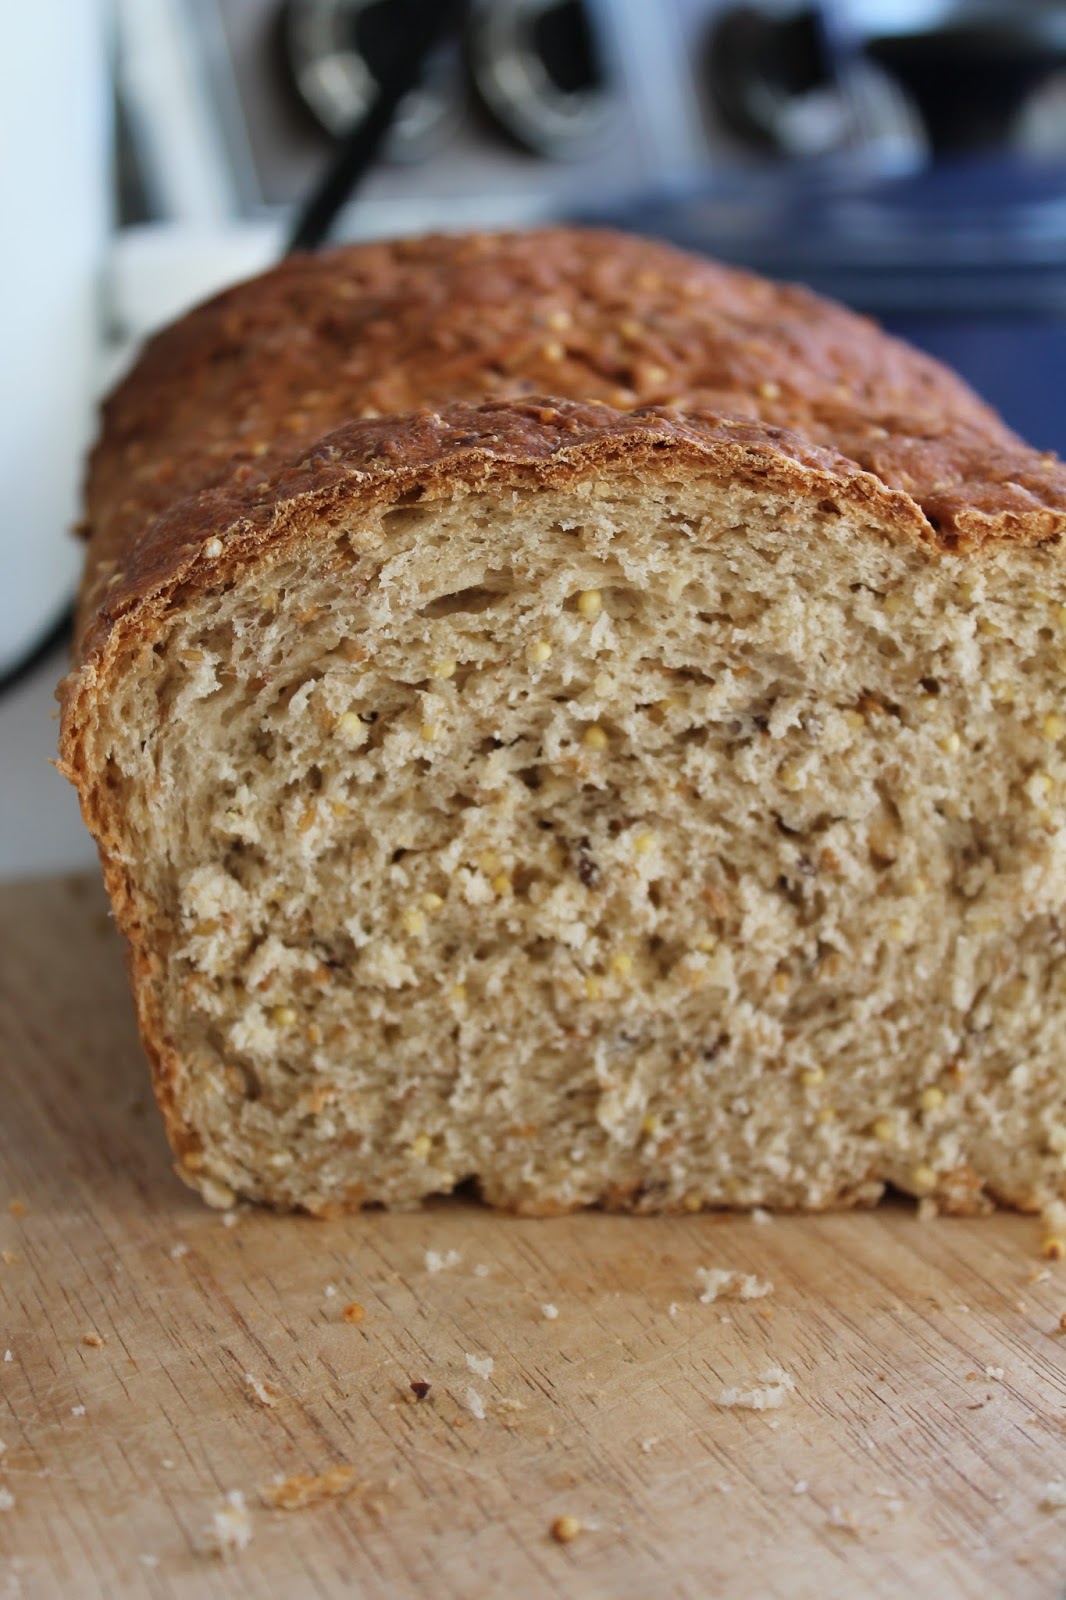
I mean, look at it. Doesn't that look tasty? So if you've been hesitant to try baking bread, I urge you to give this one a try. And if you do, let me know how it turns out!
I do usually double the recipe (like I said, bread family y'all) and I've included the measurements for that down below. We use organic unbleached all purpose flour for ours, but you could also use half whole wheat or even bread flour if you want.

Enjoy!
Multi-grain Sandwich Bread
Makes 1 8x4 or 9x5 loaf
Time: about 4-5 hours, plus another 1-2 hours to cool the loaf
1/4 cup millet
1/4 cup whole wheat couscous (or regular)
1/4 cup steel cut oats
2 tablespoons olive oil (or butter)
2 tablespoons honey (or molasses for a darker loaf)
1 1/2 cups boiling water
2 tsp active dry yeast or 1 1/2 tsp instant yeast
1/4 cup flaxseeds
1 3/4 tsp salt
2 1/4 cup organic all purpose flour
Add millet, couscous, oats, olive oil, and honey to a large glass bowl and stir in boiling water. Allow to cool 15-20 minutes, until temperature of water is about 100 degrees. (or whatever temperature your yeast prefers - check the package for exact temps)
Stir in yeast, then flax seeds, salt, and 1/2 cup flour. Add remaining flour, 1/4 cup at a time, stirring after each addition. (I usually start to use my hands to mix it after about 1 1/4 cup). Scrape down sides of the bowl and cover with plastic wrap. Let mixture sit for 20 minutes. This allows the starches in the flour to absorb the water, which makes the dough smoother and easier to knead. It also allows you to add less flour, which makes a lighter loaf of bread. Fancy bread bakers call this process autolyse.
Uncover the bowl and scrape dough out onto a lightly floured surface. Knead the dough about 7-8 minutes, adding light sprinkles of flour if it starts to stick. You do want the dough to be somewhat tacky when finished.
Round the dough into a ball and place into a large bowl coated with oil. Roll the ball of dough around the bowl a bit to get a light coating of oil on it. Cover the bowl loosely with plastic wrap and leave to rise until doubled, about an hour and a half. (For me, the perfect place is in my oven. I have an electric stove, so I will heat it at 400 degrees for 1 minute, and then turn off. I place the dough in and shut the door and it rises perfectly in there. Gas ovens are typically warm enough without preheating)
Grease your loaf pan with oil. Turn the dough out onto a surface very lightly dusted with flour. Pat into a rectangle, as long as your loaf pan and twice as wide. Roll the dough up snugly, cinnamon bun style, and pinch the seam shut. Tuck the ends under the loaf and roll it a few times, seam side down, to smooth it out. Place the log, seam side down, into the loaf pan. Place the entire pan into a large plastic bag (we use those plastic grocery bags) and tie the bag shut, leaving it inflated to give bread room to expand.
Let the loaf rise until doubled in bulk and 2" above the rim of the loaf pan, which usually takes about 45-60 minutes.
Place a metal or cast iron pan that you don't care about on the floor of the oven or on the lowest rack. Preheat oven to 400 degrees.
Remove the bag from the loaf pan. Fill a 1/2 cup measuring cup with ice cubes. Open the oven and quickly but gently place the loaf pan inside. Toss the ice cubes into the pan on bottom of the oven. Close the door and don't open it for 20 minutes. After 20 minutes, reduce the oven to 350 degrees. Rotate the pan and bake for another 30-40 minutes. A thermometer inserted into the loaf should read 195-200.
Remove the loaf from the pan and let cool completely before cutting (the internal steam continues to cook the bread as it cools).
To double the recipe, double all ingredients, except for yeast. Use 3 tsp active dry yeast or 2 1/2 tsp instant yeast. The rest of the instructions remain the same.


